- WordPress
What Steps Can You Take to Enhance WordPress Security on Cloudways?

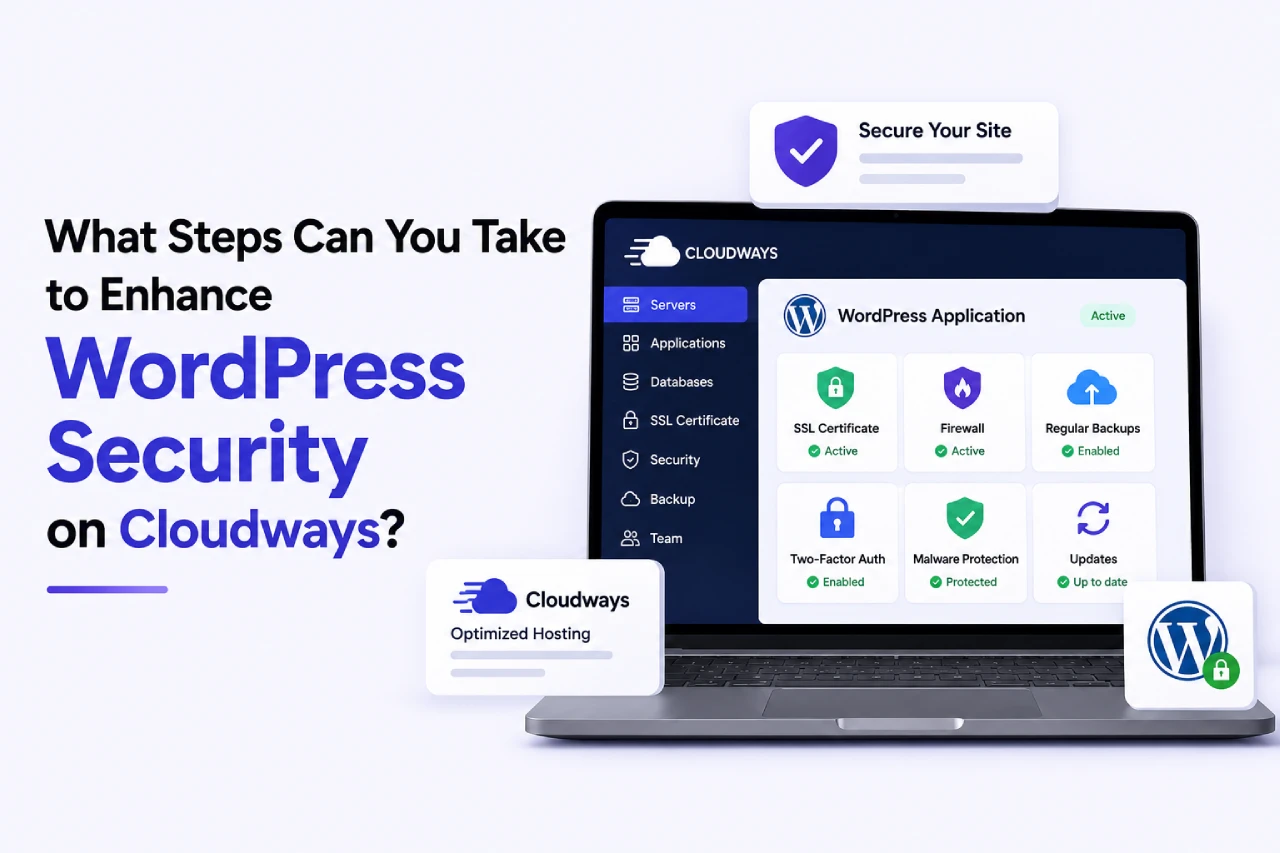
Running your WordPress site on Cloudways honestly gives you a much stronger security starting point than the average cheaper shared host would. The underlying infrastructure gets managed properly at the platform level. The servers themselves come pre-hardened, and the Cloudways platform quietly handles a whole category of security work that DIY hosting environments simply never touch. That said, the fact that Cloudways handles the server layer for you is not really the same thing as your WordPress site being properly secured end-to-end. There is still meaningful work sitting on top that only you can actually do.
This is a practical guide to actually hardening a WordPress site running on Cloudways, written for site owners who want their site materially safer against real threats rather than reading yet another generic security post. Every step covered here makes a concrete difference. None of it requires you to write code, though a couple of settings live in less obvious corners of the Cloudways dashboard than most guides admit.
Work through these properly across a focused couple of hours and your WordPress site ends up in a genuinely different security posture than most of the sites sitting around it on the internet in 2026.
What Cloudways Actually Handles for You
Before piling extra security on top of what is already there, it genuinely helps to be clear about what Cloudways is already doing behind the scenes. Some of the recommendations floating around in generic WordPress security guides have actually been handled at the platform level for you here, so replicating those inside your own configuration would just be duplicated effort.
The Server-Level Security You Get by Default
Cloudways runs the underlying servers on top of major cloud providers such as DigitalOcean, and Vultr sits as another supported option in that setup. The whole platform layer arrives with a properly configured firewall active on it from day one of the server going live. Security patches get applied at the server level automatically in the background, without you needing to do anything at all to trigger them. Every account also gets access to free SSL certificates via the Let\’s Encrypt integration, and database security on the platform runs according to managed hosting best practices as standard. All of this baseline is meaningfully stronger than what a cheaper shared host would give you.
What Cloudways Genuinely Does Not Handle
Where the picture genuinely changes is once you move up to the WordPress application layer itself. Cloudways cannot stop somebody from guessing your admin password. Nothing at the platform level prevents a vulnerable plugin sitting on your site from getting exploited by an attacker who knows about the vulnerability. The platform is not able to enforce two-factor authentication across your admin accounts, and it has no way to tell you when a compromised user has quietly gained access through a leaked password sitting in some old breach database. All of that sits inside WordPress itself, and every bit of it becomes your responsibility to configure properly.
Step One: Configure the Cloudways Platform Settings Properly
Start inside the Cloudways dashboard first. A handful of settings sitting in here are either turned off by default, or only partially configured out of the box. Getting them properly set is honestly the highest-leverage security work available to you at the platform level.
Enable the Application-Level Firewall Rules
The base server firewall is already active on your account by default, though the application-level firewall rules living under the Cloudways security section really want reviewing and tightening properly. Rate limiting is the specific thing to focus on. It stops brute-force attempts hitting your login page before those requests ever get through to WordPress. Set the actual limits sensibly. You want them low enough that automated attacks get properly blocked, but not so aggressive that legitimate users end up accidentally locked out of the site.
Whitelist Your Admin IP Where Possible
If you happen to work from a single office with a fixed IP address, or you primarily connect from one main location, whitelisting that specific IP for SSH access along with SFTP is honestly one of the strongest single security moves available in Cloudways. Any bots trying to brute-force server-level access from anywhere else on the internet get blocked outright. The connection never even reaches your server unless it originates from an IP address you have explicitly approved. You will find this feature living inside the Server Management area of the Cloudways console.
Confirm SFTP Rather Than FTP
This particular setting tends to already be right on Cloudways by default, though it is still genuinely worth double-checking on your setup. Every file transfer to your server needs to be happening over SFTP. The alternative is unencrypted FTP, which is a bad option because it passes credentials across the network in plain text where anybody watching the connection can grab them. Look at your FTP client and make sure it is properly configured for SFTP on the right port. If any legacy FTP configuration turns up lurking anywhere in your setup, get rid of it.
The Cloudways Bot Protection Feature
Cloudways offers a Bot Protection add-on that catches malicious traffic before it hits your WordPress site at all. For any business site running Cloudways it is honestly worth enabling, because the traffic filtering happens at the edge rather than reaching your application. The cost is modest, and it removes a huge category of security noise from ever touching your site.
Step Two: Harden the WordPress Install Itself
The bigger security wins actually live inside WordPress itself, rather than at the Cloudways platform layer. This is where a lot of site owners quietly stop paying attention. Which is also, unsurprisingly, exactly where most real compromises end up happening.
Change the Default Admin Username
If your primary admin account is currently sitting under the username “admin”, or “administrator”, or something obvious like your business name, then you have essentially handed half of a brute-force attempt to any attacker who lands on your login page. The fix is to create a fresh admin account under a genuinely unpredictable username. From there, transfer the content ownership across to the new account, and then delete the original one. Attackers can no longer guess the username afterwards, which forces them into working meaningfully harder on the password side of things too.
Activate Two-Factor Authentication Immediately
Two-factor authentication is honestly the single highest-leverage security control available to any WordPress site in 2026. Once you have it active on your admin accounts, a leaked password becomes essentially useless to an attacker, and the same goes for a password they somehow managed to guess, without physical access to your phone alongside it. Wordfence handles this natively out of the box. So does iThemes Security if you prefer the way that one is set up. Getting it configured takes under five minutes per user account.
Why Two-Factor Alone Blocks Most Real Attacks
The overwhelming majority of WordPress compromises actually originate from credential attacks, not from sophisticated exploits of the kind you see in news headlines. Automated bots simply try common username and password combinations pulled out of leaked database dumps, quietly hoping something matches somewhere. Two-factor authentication defeats that whole attack pattern in a single move, which is exactly why security professionals treat it as non-negotiable on any WordPress site with something genuinely worth protecting.
Install a Proper Security Plugin
Wordfence remains the most widely deployed security plugin option out there and it runs on Cloudways without needing any special configuration. iThemes Security is an equally strong alternative to consider if you prefer the way its interface is laid out. Pick either one, install it properly, and take the time to actually work through the setup wizard properly instead of just leaving the default settings sitting in place. The real value from either tool comes from a few different pieces working together. Login attempt monitoring is one of them. Malware scanning sits alongside that, and there is a rules-based firewall running in parallel with whatever Cloudways is already doing at the server level.
Disable File Editing From the Dashboard
WordPress ships with a built-in code editor accessible from inside the admin dashboard, and this is honestly the exact tool an attacker reaches for to inject malicious code the moment they gain admin access to a site. Disabling it is a one-line addition to your wp-config.php file. Add this constant to the file: define(‘DISALLOW_FILE_EDIT’, true). It is a genuinely small change, and it delivers real defensive value.
Step Three: Manage Plugins, Themes, and User Accounts Properly
Most successful WordPress attacks exploit vulnerabilities living inside outdated plugins. Some exploit outdated themes instead, and others work their way in through neglected user accounts sitting on the site. This step is the one where you get both of those attack routes properly closed off.
Ruthlessly Remove Anything You Do Not Use
Every single plugin sitting on your WordPress install is a potential entry point for an attacker, and the same applies to every theme, including the ones just sitting there deactivated. Go through the plugins list carefully and actually delete anything you are not actively using rather than simply deactivating it and forgetting about it. Do the same exercise across your themes. Keep only the active theme, along with one default WordPress theme as a fallback in case something goes wrong. Working through both lists like this alone materially reduces the attack surface of your site.
Keep Everything Current
Automatic updates should be turned on for a few things right from the start. WordPress core is the obvious one, alongside minor plugin updates and any theme security patches that come through. Major plugin updates that could realistically break site functionality are worth handling differently. A monthly manual review approach, sitting behind a proper backup, tends to be the healthier way to work with those. Cloudways offers staging environments as a standard feature, which makes properly testing major updates trivial before you push anything through to the live production site. Using them properly stops the whole update process from becoming a source of unplanned downtime.
Audit Your User Accounts Regularly
Old team members tend to accumulate as user accounts on WordPress sites over the years, and the same goes for former contractors, along with the occasional one-off collaborator brought in for a specific project years back. Every one of those accounts represents a potential entry point if the credentials attached to it ever leak somewhere. Get into the habit of reviewing your user list quarterly. Anybody who no longer genuinely needs access gets removed. For anyone who does still need access, confirm they have the appropriate role permissions attached, rather than sitting on administrator when they really only need to edit content.
Step Four: Get Backups and Monitoring Properly Set Up
This step is the safety net that catches you when something else goes wrong, which eventually happens to every site given enough time.
Configure Automatic Offsite Backups
Cloudways provides its own backup service inside the platform. The important part is getting it configured to run automatically at least once daily, with the actual backups being stored off-server somewhere, not just sitting on the same infrastructure that also happens to be hosting the live site. If the server itself gets compromised, any backups sitting on that same server will be compromised right along with it. Plugins such as UpdraftPlus give you a second layer on top of that, shipping copies of the backups off to external storage like Amazon S3, or somewhere similar such as Google Drive.
Activate Malware Scanning
Regular malware scanning through your security plugin catches injected code before it starts causing wider damage. Wordfence handles this out of the box and can be configured to email you the moment anything suspicious turns up. For higher-value sites, a paid tier of Sucuri or MalCare gives deeper scanning with faster response times, at a monthly cost that is trivial next to the cost of an actual compromise.
Set Up Uptime Monitoring
External uptime monitoring watches your site from a location outside your own infrastructure. Whenever the site actually goes down, it alerts you immediately. UptimeRobot is a good option that handles this well on its free tier for basic use cases. When the site drops offline at 3am on a Sunday morning, you want to be the one who hears about it before your customers do, and this whole setup takes about ten minutes to configure.
Step Five: Test and Document Your Recovery Process
The point most site owners genuinely skip is actually verifying that any of this stuff works, before the moment arrives when they need it. A backup you have never once restored from is honestly just a hopeful theory sitting on your server, not the proven safety net you assume it to be.
Run a manual restore test at least once for real. Doing that inside a staging environment provided by Cloudways is the safest way, since it means you are not risking the live site during the exercise. Documentation of the actual recovery process wants writing up in plain English somewhere your team can find it under stress, because nobody makes especially calm decisions during an active incident. A full security audit should get scheduled at least once a year at absolute minimum, plus another one after any major change to the site.
How Creative Sweet Manages WordPress Security and Cloudways Hosting
We manage WordPress hosting alongside security and ongoing site care for businesses across Belfast and Northern Ireland, including a good number of sites that happen to be running on Cloudways. Our care packages sit on top of whatever platform-level security Cloudways is already providing. They add the WordPress-level hardening you need. Monitoring runs alongside that, and update management sits under it too, all combining to keep the sites we manage materially safer than they would be sitting on their own.
For most SME clients we work with, this whole approach tends to end up costing less than trying to stay on top of everything internally. The results are also meaningfully better along the way. The sites we manage rarely see the sort of compromises that regularly hit unmanaged WordPress installs. When something does need attention, it usually gets caught early through the monitoring, well before it can surface later as an emergency six months down the line.
If your WordPress site currently runs on Cloudways and you want the security side of things properly taken care of, or you are just not sure whether your current setup is genuinely doing what it should be, that is a worthwhile conversation to have properly. Get in touch at creativesweet.net or book yourself in for a free discovery call. We can take an honest look at where your current security posture actually sits, and let you know exactly what would be worth doing next.
Frequently Asked Questions About WordPress Security on Cloudways
Is Cloudways secure for WordPress by default?
Cloudways provides genuinely strong baseline security features straight out of the box. That covers a built-in firewall, proper SSL support, and automated server-level updates running in the background. Additional WordPress-level hardening is still required to reach an honestly secure setup though. The default Cloudways configuration is a solid starting point rather than a complete finished solution.
Do I still need a security plugin on Cloudways?
Yes, definitely. Cloudways handles the server-level security work on your behalf, though a WordPress-level security plugin such as Wordfence, or an alternative like iThemes Security, is still very much needed to protect against threats that specifically target the WordPress application layer itself. Those two security layers genuinely complement each other in your setup. They do not overlap the way some site owners assume they do.
How often should I back up my WordPress site on Cloudways?
Automatic daily backups are honestly the minimum standard for any business WordPress site running on Cloudways. For ecommerce sites specifically, or sites carrying particularly high traffic volumes, more frequent backup intervals than daily tend to be worth setting up. Backups should always be stored somewhere off the main server, not sitting only on the same infrastructure that also happens to be hosting the live site.
What is the biggest WordPress security mistake site owners make on Cloudways?
The single biggest mistake is quietly assuming managed hosting handles all the security work automatically. Cloudways genuinely secures the server infrastructure underneath your site, but the WordPress-level hardening still remains the site owner\’s own responsibility. That covers a handful of things. Two-factor authentication is one, alongside user role management on your admin accounts, and running a proper security plugin sitting on top of everything else.
Can Creative Sweet manage WordPress security and Cloudways hosting for my business?
Yes. Creative Sweet manages WordPress hosting, security, and ongoing site care for businesses right across Belfast and Northern Ireland, including sites already hosted on Cloudways. Get in touch at creativesweet.net to discuss what your site currently needs.


Keep reading

- SEO
Somebody in Belfast wakes up on a Tuesday morning with lower back pain that has...
- WordPress
This post is general educational guidance for SME website owners and does not constitute legal...

- Business, SEO
Your Google Business Profile is honestly the highest-leverage marketing asset most SMEs already own, and...